Introduction:
Welcome to the world of Jenkins – the ultimate automation tool for modern developers. Jenkins revolutionizes software development by automating tasks like building, testing, and deployment. With its user-friendly interface and extensive plugin support, Jenkins empowers teams to achieve Continuous Integration and deployment effortlessly. Say goodbye to manual errors and hello to reliable, efficient coding practices. In this series, we'll uncover the core concepts of Jenkins, guide you through its setup, and help you create your first seamless CI/CD pipeline. Let's embark on a journey to supercharge your development workflow with Jenkins!
What is Jenkins?
Jenkins is an open-source continuous integration/continuous delivery and deployment (CI/CD) automation software DevOps tool written in the Java programming language. It is used to implement CI/CD workflows, called pipelines.
CI/CD:
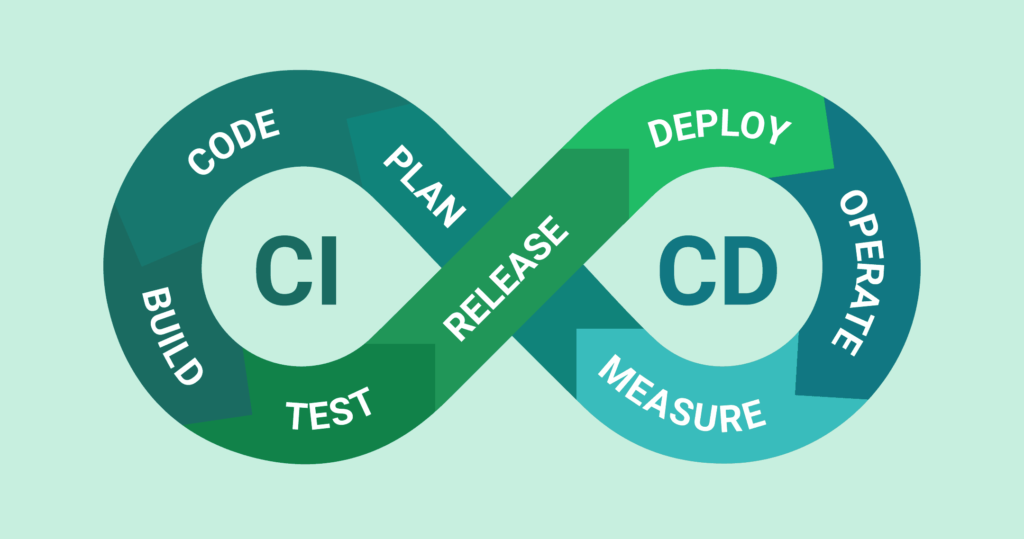
CI (Continuous Integration)
Continuous Integration (CI) automates combining code changes from many developers into one place, helping catch issues faster and making teamwork smoother. It aims to improve software quality and speed up the release of new features by regularly checking, building, and reviewing code.
CD (Continuous Delivery)
Continuous Delivery (CD) ensures smooth and error-free customer releases by running tests in a safe staging area, keeping the product ready for deployment anytime. It automates the process, guaranteeing a reliable and timely application release.
CD (Continuous Deployment)
Continuous Deployment means automatically sending new code changes to production, letting users benefit from the latest features without delay, and ensuring a seamless experience.
Workflow:

Advantages of working with Jenkins:
Automated Tasks:*Jenkins automates building, testing, and deploying, saving time and cutting errors.*
Smooth Integration:*Jenkins makes merging code easier, catching bugs early.*
Team Harmony:*It helps teams work better by combining code changes smoothly.*
Fast Fixes:*Quick tests mean swift issue spotting and resolving.*
Customizable Tool:*Jenkins adapts with plugins for your needs.*
and many more.....
Installation of Jenkins on Linux:
Step 1: Update System Packages:
sudo apt update
sudo apt upgrade
Step 2: Install Java:*Jenkins requires Java to run*
sudo apt install openjdk-11-jdk
To verify:
java --version
Step 3: Add Jenkins Repository:
curl -fsSL https://pkg.jenkins.io/debian-stable/jenkins.io-2023.key | sudo tee \
  /usr/share/keyrings/jenkins-keyring.asc > /dev/null
echo deb [signed-by=/usr/share/keyrings/jenkins-keyring.asc] \
  https://pkg.jenkins.io/debian-stable binary/ | sudo tee \
  /etc/apt/sources.list.d/jenkins.list > /dev/null
Step 4: Install Jenkins:
-- -- -- -- -- Update the package again -- -- -- -- --
sudo apt update
sudo apt-get install jenkins
Step 5: Start and Enable Jenkins to Start on Boot:
sudo systemctl start jenkins
sudo systemctl enable jenkins
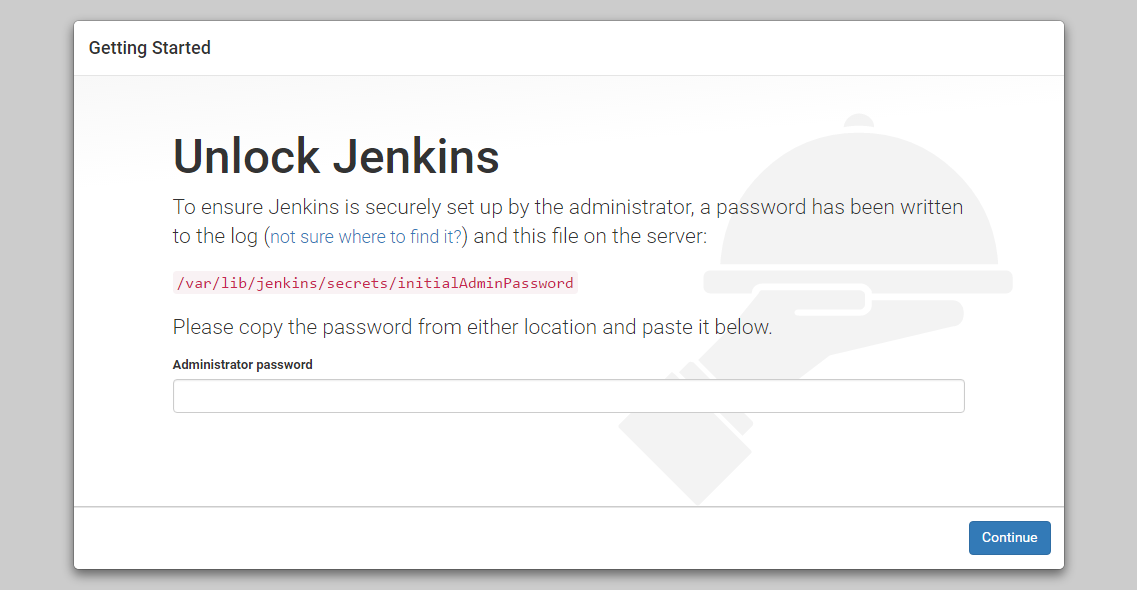
Step 6: Setting Up Jenkins:*Jenkins runs on port 8080 by default.*
http://your_server_ip_or_domain:8080

Retrieve this password from your server using the following command:
sudo cat /var/lib/jenkins/secrets/initialAdminPassword
Step 7: Install Plugins:*In the setup wizard, you can choose to install recommended plugins or select specific ones based on your needs.*

When you click the Install suggested plugins option, it will immediately begin the installation process.

Step 8: Create Admin User:

Step 9: Configure Jenkins URL: Confirm or adjust the Jenkins URL if needed.

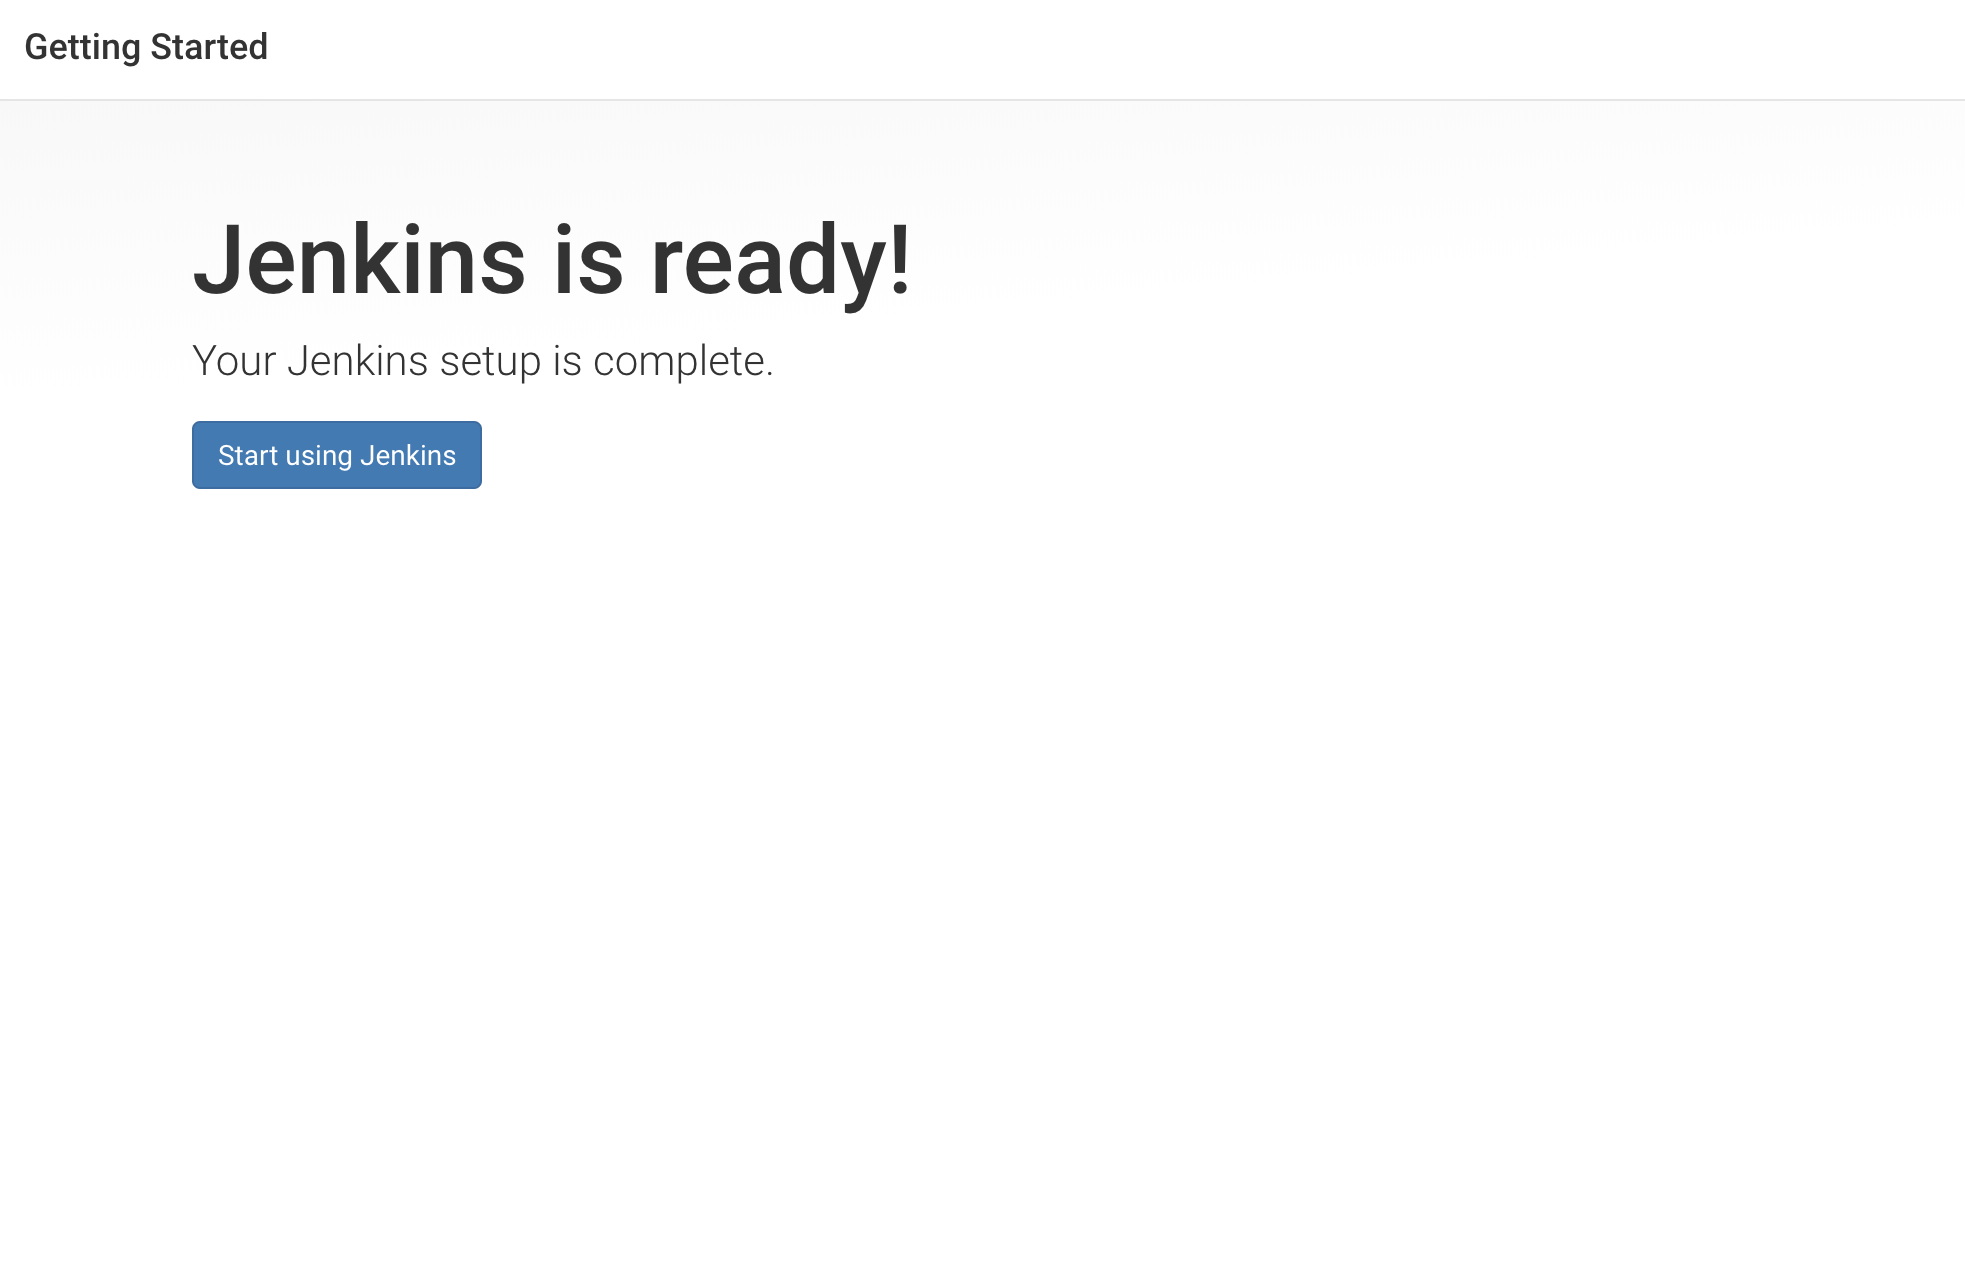
Step 10: Start Using Jenkins: With the setup complete, you can start using Jenkins for automation and CI/CD workflows.

-- -- -- -- -- The main screen of Jenkins -- -- -- -- --

Tasks:
Task-01: Create a freestyle pipeline to print "Hello World!!

Thank you for reading !!

